Making a Bézier Curve Editor in SwiftUI

Making a Bezier Curve Editor in SwiftUI
Why?
Because I wanted to have a way to visually pick values for animation timing curves and while there are plenty of tools around for doing so (like this one ), I thought it would be fun to make one in SwiftUI.
Making a handle
This is a rather simple view, a circle, serving as our handle for moving around the control points of our cubic Bézier curve. Nothing really special here, except for the offset, which is adjusted so the center of the circle will be originated at the top-left corner.
 It may look like a slice of a grayscale lemon but it’s all there, I promise
struct ControlPointHandle: View {
    private let size: CGFloat = 20
    var body: some View {
        Circle()
            .frame(width: size, height: size)
            .overlay(
                Circle()
                    .stroke(Color.white, lineWidth: 2)
            )
            .offset(x: -size/2, y: -size/2)
    }
}
A simple circular SwiftUI view for our handles
With a little help from my friends…
Now, before moving on it would be really useful if we defined a few basic operators for common vector math (elementwise addition, multiplication, division, and scaling).
The reason I’m mixing CGPoint & CGSize is due to the fact that DragGestureRecognizer in SwiftUI reports back the translation as a CGSize and not as a CGPoint as UIKit’s UIPanGestureRecognizer does.
import Foundation

// Just for clarity of intention
typealias AbsolutePoint = CGPoint
typealias RelativePoint = CGPoint

func * (lhs: CGSize, rhs: CGSize) -> CGSize {
    .init(width: lhs.width * rhs.width, height: lhs.height * rhs.height)
}

func * (lhs: CGPoint, rhs: CGSize) -> CGPoint {
    .init(x: lhs.x * rhs.width, y: lhs.y * rhs.height)
}

func - (lhs: CGPoint, rhs: CGFloat) -> CGPoint {
    .init(x: lhs.x - rhs, y: lhs.y - rhs)
}

func + (lhs: CGPoint, rhs: CGPoint) -> CGPoint {
    .init(x: lhs.x + rhs.x, y: lhs.y + rhs.y)
}

func + (lhs: CGSize, rhs: CGSize) -> CGSize {
    .init(width: lhs.width + rhs.width, height: lhs.height + rhs.height)
}

func / (lhs: CGSize, rhs: CGSize) -> CGSize {
    .init(width: lhs.width / rhs.width, height: lhs.height / rhs.height)
}

extension CGSize {
    var toPoint: CGPoint { .init(x: width, y: height) }
    var half: CGSize { .init(width: width/2, height: height/2) }
}
Convenient operators for making things easier later on
Moving around
Now that we have our handle, we need a means of moving it. Instead of attaching a gesture recognizer in the view directly, when we later compose our curve editor, we are going to generalize and implement a custom ViewModifier that we can apply to any view.
struct Draggable: ViewModifier {
    @State var isDragging: Bool = false

    @State var offset: CGSize = .zero
    @State var dragOffset: CGSize = .zero

    var onChanged: ((CGSize) -> Void)?
    var onEnded: ((CGSize) -> Void)?

    func body(content: Content) -> some View {
        let drag = DragGesture()
        .onChanged { (value) in
            self.offset     = self.dragOffset + value.translation
            self.isDragging = true
            self.onChanged?(self.offset)
        }.onEnded { (value) in
            self.isDragging = false
            self.offset     = self.dragOffset + value.translation
            self.dragOffset = self.offset
            self.onEnded?(self.offset)
        }
        return content.offset(offset).gesture(drag)
    }
}

extension View {
    func draggable(onChanged: ((CGSize) -> Void)? = nil, onEnded: ((CGSize) -> Void)? = nil) -> some View {
        return self.modifier(Draggable(onChanged: onChanged, onEnded: onEnded))
    }
}
A Draggable custom modifier implementation
A simple curve
For our curve, the implementation is straight forward. We need two control points as input (cp0 and cp1) and return a Path.
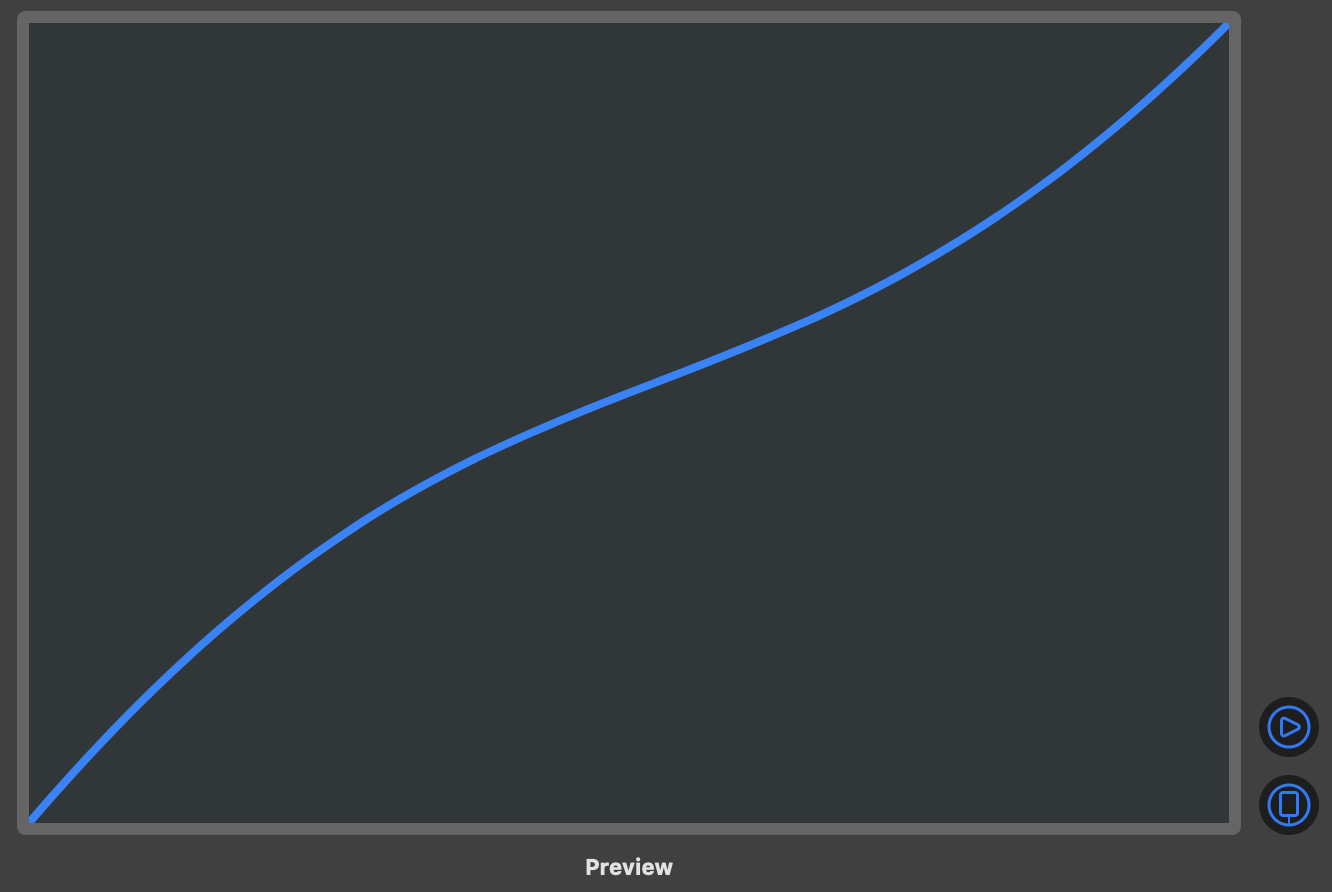 A Bézier curve with 2 control points
One thing to note here is that inputs are expected to be normalized (in the range 0…1). RelativePoint typealias is used in order to make it a little bit more clear.
struct CurveShape: Shape {
    let cp0, cp1: RelativePoint
    func path(in rect: CGRect) -> Path {
        Path { p in
            p.move(to: CGPoint(x: 0, y: rect.size.height))
            p.addCurve(to: CGPoint(x: rect.size.width, y: 0),
                       control1: cp0 * rect.size,
                       control2: cp1 * rect.size)
        }
    }
}
Let’s do some bending
We got every ingredient now to construct our editor view.
Here are the key points:
- Some preset values
- An internal state for our handle offsets
- Exposed bindings for final values
- The curve
- The lines connecting control points to curve points
- The handles
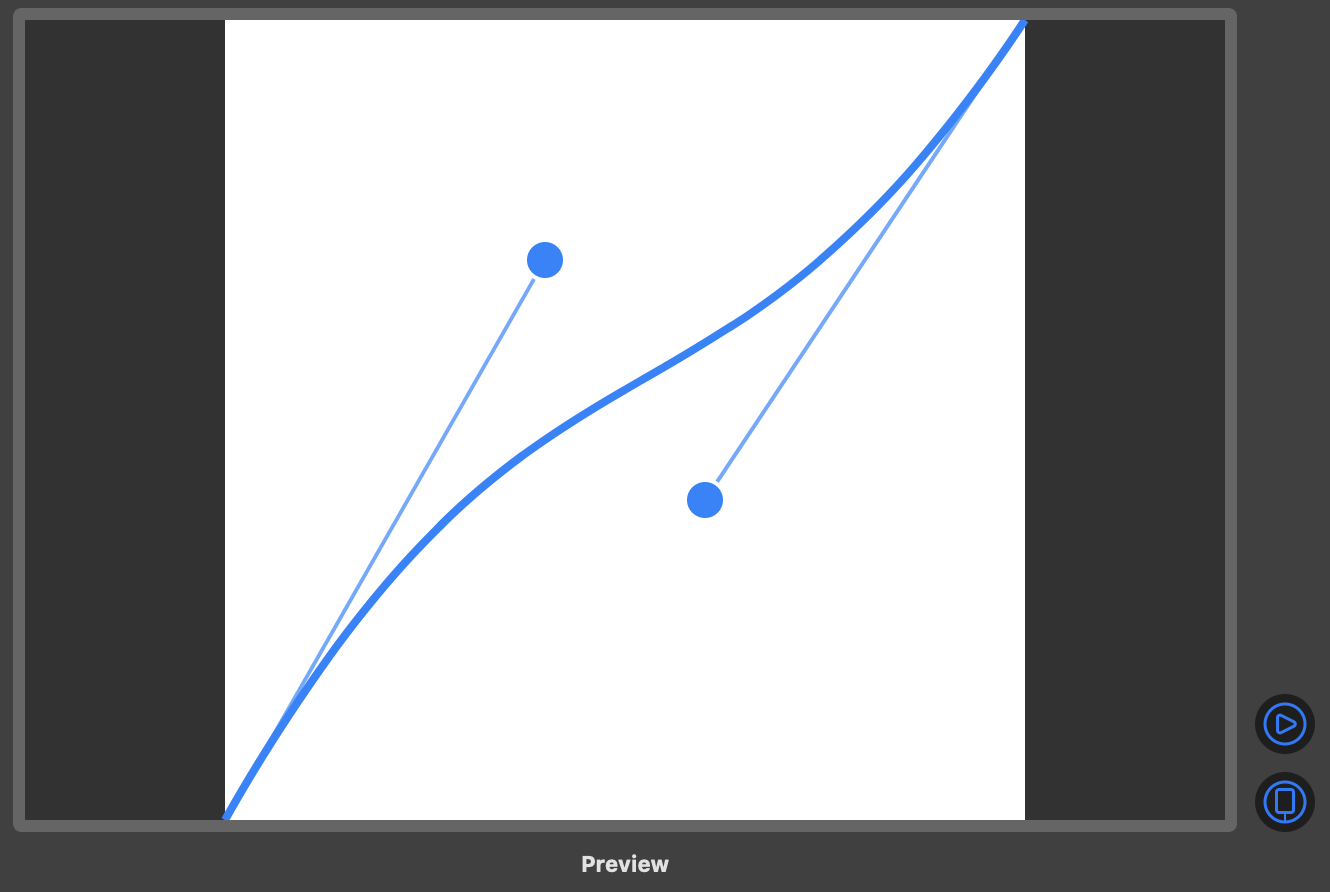 Handles and everything
struct CurveEditorView: View {

    // 1
    private let initialPoint0: CGSize = .init(width: 0.4, height: 0.3)
    private let initialPoint1: CGSize = .init(width: 0.6, height: 0.6)

    // 2
    @State private var offsetPoint0: CGSize = .zero
    @State private var offsetPoint1: CGSize = .zero

    private var curvePoint0: RelativePoint {
        (initialPoint0 + offsetPoint0).toPoint
    }

    private var curvePoint1: RelativePoint {
        (initialPoint1 + offsetPoint1).toPoint
    }

    // 3
    @Binding var controlPoint1: RelativePoint
    @Binding var controlPoint2: RelativePoint

    var body: some View {

        let primaryColor   = Color.blue
        let secondaryColor = primaryColor.opacity(0.7)

        return GeometryReader { reader in
            Color.white

            // 4
            CurveShape(cp0: self.curvePoint0, cp1: self.curvePoint1)
                .stroke(primaryColor, lineWidth: 4)

            // 5
            Path { p in
                p.move(to: CGPoint(x: 0, y: 1 * reader.size.height))
                p.addLine(to: self.curvePoint0 * reader.size)
            }.stroke(secondaryColor, lineWidth: 2)

            Path { p in
                p.move(to: CGPoint(x: 1 * reader.size.width, y: 0))
                p.addLine(to: self.curvePoint1 * reader.size)
            }.stroke(secondaryColor, lineWidth: 2)

            // 6
            ControlPointHandle()
                .offset(self.initialPoint0 * reader.size)
                .foregroundColor(primaryColor)
                .draggable(onChanged: { (size) in
                    self.offsetPoint0 = size / reader.size
                    self.controlPoint1 = self.curvePoint0
                })

            ControlPointHandle()
                .offset(self.initialPoint1 * reader.size)
                .foregroundColor(primaryColor)
                .draggable(onChanged: { (size) in
                    self.offsetPoint1 = size / reader.size
                    self.controlPoint2 = self.curvePoint1
                })
        }
        .aspectRatio(contentMode: .fit)
        .onAppear {
            self.controlPoint1 = self.curvePoint0
            self.controlPoint2 = self.curvePoint1
        }
    }
}
Putting it all together
At this point, one more thing to note (that was quite surprising to me) is that we can have out-of-range values too, which means that we can even have basic anticipation (or overshooting) without keyframing.
Finally, we should keep in mind that we have to flip the Y on our control points before passing them to the animation (zero at the bottom left / one at top right).
 A sweet, sweet moving dot
struct TimingCurveView: View {
    @State var value: CGFloat = 0

    @State var cp1: RelativePoint = .zero
    @State var cp2: RelativePoint = .zero

    let timer = Timer.publish(every: 2, on: .main, in: .common).autoconnect()

    var animation: Animation {
        Animation.timingCurve(
            Double(cp1.x),
            Double(1 - cp1.y),
            Double(cp2.x),
            Double(1 - cp2.y),
            duration: 2
        )
    }

    var body: some View {
        VStack {
            CurveEditorView(controlPoint1: $cp1, controlPoint2: $cp2)
                .aspectRatio(contentMode: .fill)
            Spacer()
            GeometryReader { reader in
                Circle()
                    .position(x: 0, y: 6)
                    .offset(x: self.value * reader.size.width, y: 0)
                    .frame(height: 12)
            }.frame(height: 40)
        }
        .onReceive(timer) { _ in
            self.value = 0
            withAnimation(self.animation) {
                self.value = 1
            }
        }
    }
}
And that was it!
We got a fully functional curve editor that we can use to visually design our animation timing curves.
You can find the final project here


