Imagine for a moment the following scenario...
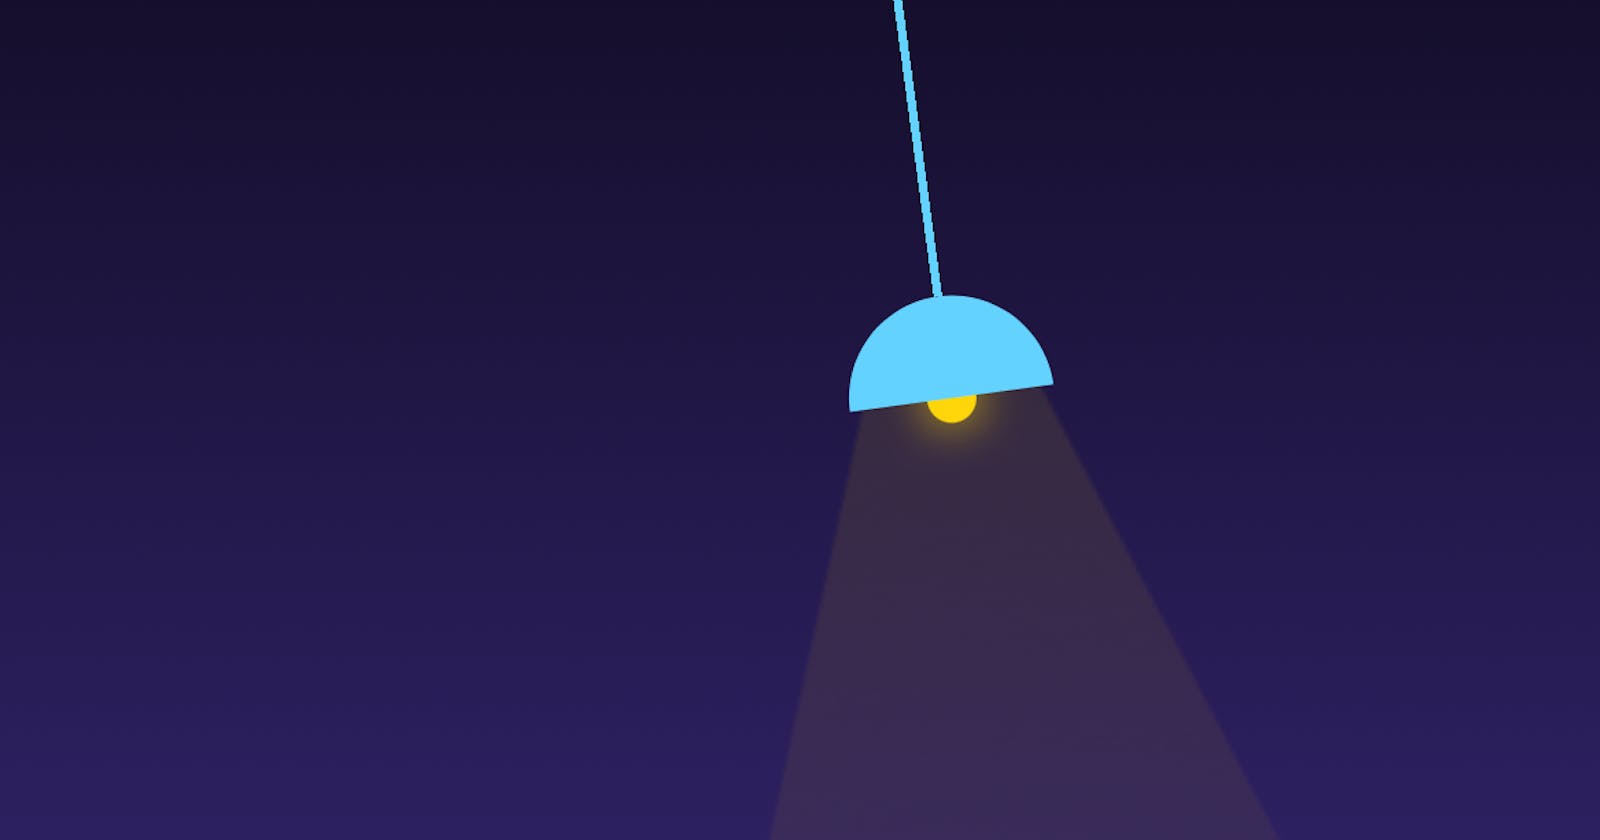
- Design team: Hey, we got you the new screen for the empty state of the Messages screen. We thought it would be nice to include a graphic and we came up with the idea of an empty room at night, with a hanging lamp from the ceiling.
- You: Cool, cool
- Design team: We also tried some animations to have a more dynamic feeling, so we gave a swinging motion to the lamp, much like a pendulum, but we weren't satisfied. So we can keep it static... unless you can come up with an idea for this.
- You: Say no more...
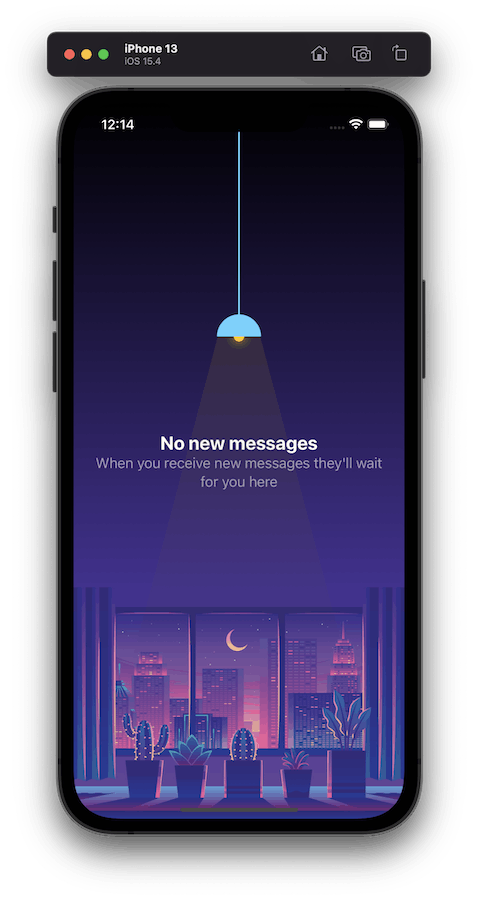
Something like this would be a great opportunity for a simple simulation. This kind of motion (pendulum) is not something that can be (convincingly) achieved with one-shot animations or keyframing. Even if we managed to give it a somewhat right feeling with something like a rotation that is ping-ponging with easing, it wouldn't be dynamic (it wouldn't gradually come to a stop & certainly would not respond to any changes in mid-flight).
Designing our screen - Background
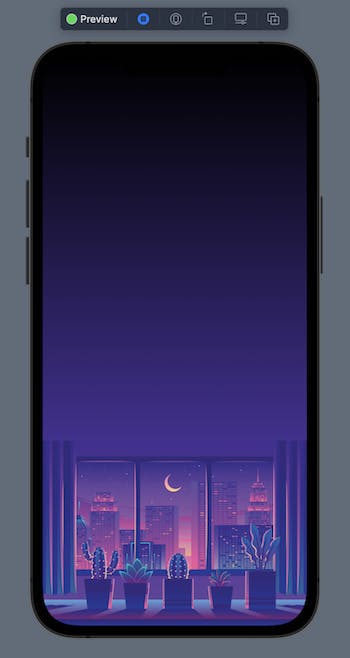
This one is pretty simple, we already have the image for our background (since this is an imaginary scenario and I am not a designer, I'm gonna use this royalty free one by artist cobo bayangno from vecteezy.com)
We'll begin with a new view named EmptyScreenView and plan out the views we need to implement:
var body: some View {
    ZStack {
        // Background
        // Message
        // Lamp
    }
    .ignoresSafeArea()
    .preferredColorScheme(.dark)
}
Background
We have our background image, but we have to fill the top of the screen with something, the designers already supplied a color to use in a gradient. Also let's put that in a separate variable:
// Background
@ViewBuilder
private var backgroundView: some View {
    let purpleColor = Color(red: 0.266, green: 0.189, blue: 0.57)
    VStack(spacing: 0) {
        LinearGradient(colors: [.black, purpleColor], startPoint: .top, endPoint: .bottom)
        Image("night-city")
            .resizable()
            .aspectRatio(contentMode: .fit)
    }
}
Message
The message labels are pretty straight forward:
    // Text
    private var messageView: some View {
        VStack {
            Text("No new messages")
                .font(.title2)
                .fontWeight(.bold)
            Text("When you receive new messages they'll wait for you here")
                .multilineTextAlignment(.center)
                .foregroundColor(Color.secondary)
        }
        .padding()
    }
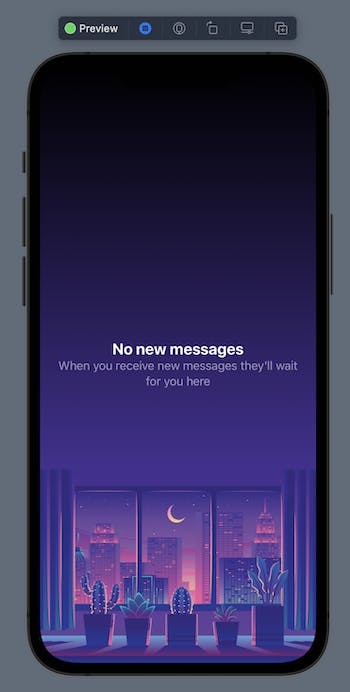
So far our body is:
    var body: some View {
        ZStack {
            backgroundView
            messageView
        }
        .ignoresSafeArea()
        .preferredColorScheme(.dark)
    }
which produces:
and now is the time for the star of the show, our lamp.
The strategy here is this:
- Do a parametric design of the lamp (so we can control every aspect of it, such as cord length, shade size, light cone etc).
- Find a way to redraw a view frame-by-frame.
- Simulate a simple pendulum. Specifically, what we need is a way to know how the angle changes over a unit of time.
- Adjust the angle of our lamp for each frame and draw it on screen.
1. Designing our lamp
We can split our lamp in 4 elements:
- The cord (acting as a rod, meaning we will treat it as a fixed line that it cannot be stretched or bent)
- The bulb
- The lamp shade
- The light cone
So let's define a view for our lamp and start creating the elements:
struct LampView: View {
    let cordLength: Double

    private var cord: some View {
        Color.accentColor
            .frame(width: 2, height: cordLength)
    }

    private var bulb: some View {
        Circle()
            .foregroundColor(.yellow)
            .shadow(color: .yellow, radius: 6, x: 0, y: 0)
            .frame(width: 12, height: 12)
    }

    private var lampShade: some Shape {
        Circle()
            .trim(from: 0.0, to: 0.5)
            .rotation(.degrees(180))
    }

    private var lightGradient: some View {
        LinearGradient(gradient: Gradient(colors: [
            Color.yellow.opacity(0.1),
            Color.clear
        ]), startPoint: .top, endPoint: .bottom)
    }

    private var lightCone: some View {
        lightGradient
            .mask(Triangle().offset(y: -60))
            .clipped()
            .offset(y: -25)
    }

}
For the cord, our job was pretty easy, just a thin color view with a variable length. The bulb was also trivial, a yellow circle with some bright shadow (like a glow). For our lamp shade, we had to be a little creative. We needed a semicircle, so I began with a circle, I trimmed it down to 50% and then flipped it in order for the flat side to face down.
Finally, for the light cone, the idea is to have a gradient from yellow to clear (top to bottom) but we need a way to mask it so it appears as (part of) a triangle.
For this one we need to create a Shape that would draw a triangle, so we can have something to feed to mask:
struct Triangle: Shape {
    func path(in rect: CGRect) -> Path {
        Path { path in
            path.move(to: .init(x: rect.midX, y: 0))
            path.addLine(to: .init(x: rect.minX, y: rect.maxY))
            path.addLine(to: .init(x: rect.maxX, y: rect.maxY))
        }
    }
}
Then it was just a matter of nudging mask and the light cone upwards until it was tucked in the lamp shade.
So now our lamp body is:
    var body: some View {
        VStack(spacing: 0) {
            cord
            ZStack {
                bulb
                lampShade
            }
            .frame(width: 50, height: 50)
            lightCone
            Spacer()
        }
        .foregroundColor(.accentColor)
    }
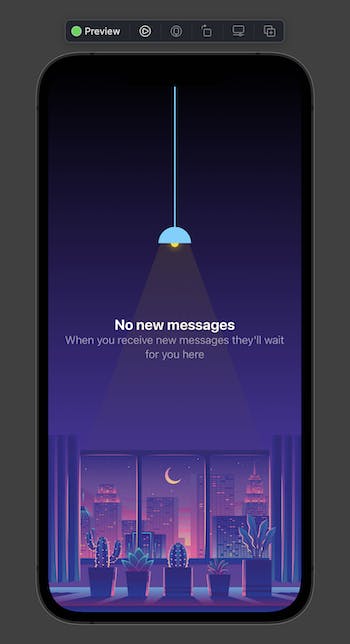
Not so bad.
2. Frame-by-frame
For having a periodic opportunity to draw something, I have chosen a TimelineView. The view essentially executes a loop and gives you a timestamp to do whatever view updates you need. The view is available on iOS14+, which is a bummer for a lot of devs having to support older systems, but the good news is you can achieve similar results with a display link or a timer that fires many times per second on the main thread (although after testing all these options prior to writing this article, TimelineView seem to be the most performant one). Also note that we are passing the .animation schedule option here.
So let's get back on our EmptyScreenView and add that one too:
    // Body
    var body: some View {
        ZStack {
            backgroundView
            messageView
            TimelineView(.animation) { _ in
                // Draw our lamp here
            }
        }
        .ignoresSafeArea()
        .preferredColorScheme(.dark)
    }
off we go for the good stuff now...
Modeling a simple pendulum
We're going to model a simple pendulum. Now, the goal here is not to make the most physically accurate simulation. All we need is a convincing one, something that feels right.
Searching the web for an equation of motion of a simple pendulum gives us this:
$$
θ'' = − g⁄R sin θ
$$
(For those of you who suck at math, like me -- don't freak out. I promise we'll try to make sense of it)
So, here is all the ingredients:
g = gravitational constant [a simple magic number - check]
R = length of the rod [we have it already - check]
θ = angle [we need to calculate it]
θ'' = angular acceleration [we also need to calculate it (by using the above formula)]
So what the equation is really saying is:
The angular acceleration of the pendulum is equal to the gravitational constant (multiplied by -1) divided by the length of our cord multiplied by sin(θ)
Also, here is some crude definitions that will help us understand and solve this problem:
Vector
A geometric object with two components: magnitude & direction.
Velocity
The rate of change of position (or in our case angle) per unit of time.
This is a vector. It's magnitude in our case is the angle and the direction is its sign (+ is counter-clockwise from the center & - is the opposite direction).
Acceleration
The rate of change of velocity per unit of time.
Also a vector.
Damping. A reduction in the amplitude of an oscillation as a result of energy being drained from the system to overcome frictional or other resistive forces (we'll use it in order to better control the time it takes for our pendulum to settle on the rest point).
Note: If you like a way better explanation on this you can check Daniel Shiffman's tutorial, which was also the inspiration behind all this.
So lets create a Pendulum and start implementing this (I've chosen some numbers that produce some sensible results, feel free to play with them once we got this finished):
class Pendulum {
    var velocity = 0.0
    let gravity  = 1.0
    let r        = 250.0
    let damping  = 0.9998
    var angle    = 0.0

    func update() {
        let acceleration = -gravity / r * sin(angle)
        velocity += acceleration // Increase/decrease velocity by the acceleration
        velocity *= damping      // Scale down the velocity by the damping factor
        angle    += velocity     // Increase/decrease angle by the velocity
    }

    func draw() -> some View {
        update()
        return LampView(cordLength: r, angle: angle)
    }
}
Ok, that wasn't so hard, right? Also note here that we're passing the angle to our view, so let's update that:
struct LampView: View {
    let cordLength: Double
    let angle: Double

...

var body: some View {
    VStack(spacing: 0) {
        cord
        ZStack {
            bulb
            lampShade
        }
        .frame(width: 50, height: 50)
        lightCone
        Spacer()
    }
    .foregroundColor(.accentColor)
    .rotationEffect(.radians(angle), anchor: .top)
}
.. and our TimelineView:
TimelineView(.animation) { _ in
    pendulum.draw()
}
... and of course a variable in our EmptyScreenView to hold our pendulum:
private let pendulum = Pendulum()
Make it swing
We got everything we need now in order to make it swing, but if we run the program, nothing moves because our lamp is resting at the center. So let's change that by giving it a starting-angle. Here, we're going to put it slightly on the right (and as a bonus it would look nice if the screen was pushed in a navigation stack).
var body: some View {
    ZStack {
        backgroundView
        messageView
        TimelineView(.animation) { _ in
            pendulum.draw()
        }
    }
    .ignoresSafeArea()
    .preferredColorScheme(.dark)
    .onAppear {
        pendulum.angle = -Double.pi / 48
    }
}
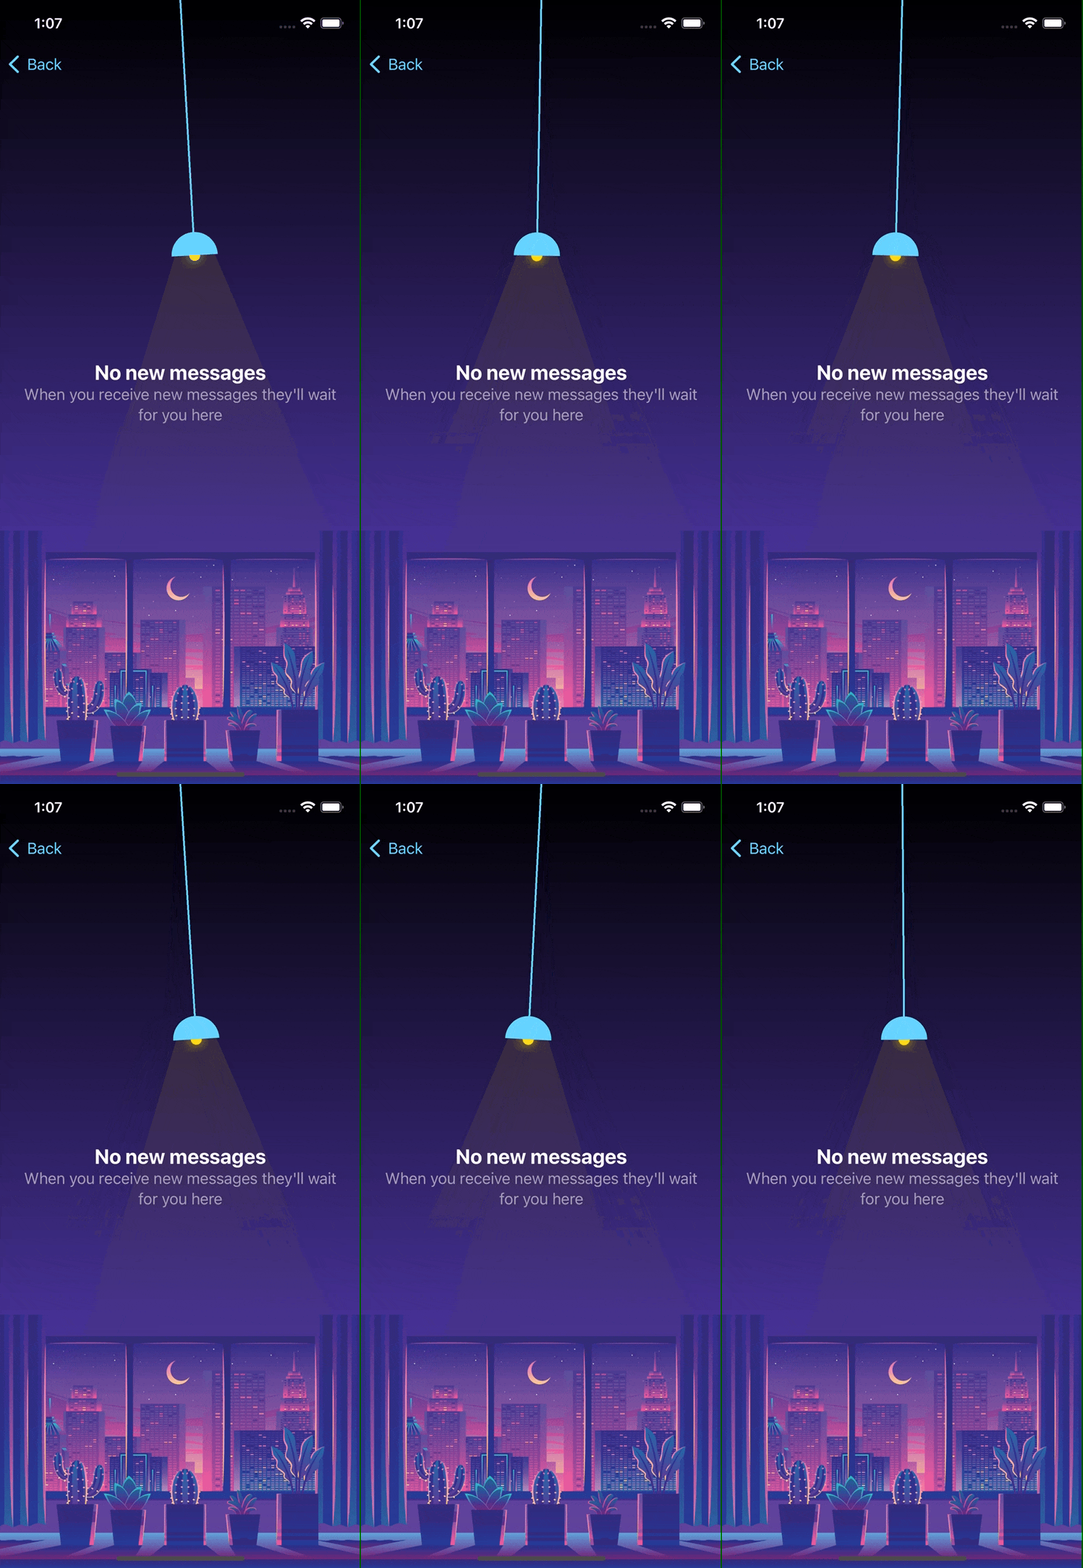
and voilá we have a moving lamp (sorry about my gif skills - I promise it looks way smoother in reality)
Bonus bit
One small way we can make it even better is make the lamp interact on touches. This is something most users will not even notice, but it would be a fun surprise for those who do notice. The idea is to add a small velocity whenever the lamp shade is touched:
func draw() -> some View {
    update()
    return LampView(cordLength: r, angle: angle)
        .onTapGesture { [weak self] in
            self?.velocity *= 1.5
        }
}
Also, every aspect of our design can be changed in real-time. Maybe a horizontal drag gesture controls the light intensity and a vertical one the length of the cord, or even a mask could be animated along with the light cone to reveal a light themed version of our view (I tried that one, it's pretty cool).
And that concludes our little "experiment". Hope that my lazy writing made at least some sense.
Thanks for reading!
